Step 1. Apply the base
Isnt' it every girl's dream to be able to contour like the Kardashians? Well, we show you how with this easy to follow, step by step guide.
First things first girls, it's all about the base. Either use your fingertips, a beauty sponge or your favourite foundation brush to apply foundation all over your face. This doesn't have to be full coverage as you'll be adding more layers on top.
Check out some of our favourite foundations below to give you great base with a range of benefits.
Top tip: Always match the colour of your foundation to your jaw line, if it blends seamlessly, it's a perfect match!
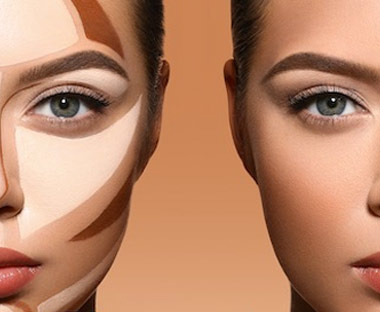
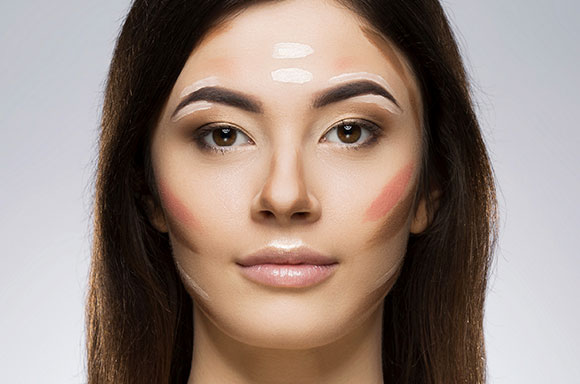
Step 2. Highlight the places you want to stand out
Right, once you've done that, give the foundation a few minutes to set. Then, we're going to use either a concealer or a foundation that is two shades lighter than your skin to highlight. Highlight the areas the the sun would naturally hit the skin. This would normally be the centre of your nose, the arch of your brow bone, your forehead, and, for the perfect pout, above the cupid's bow of your lips.
You also want to highlight your under your eyes to the high point of your cheekbones in order to define the cheek.
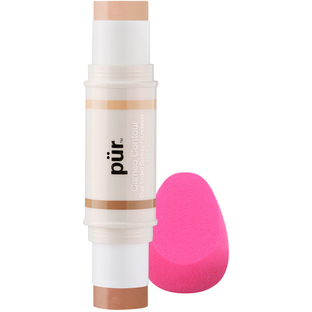
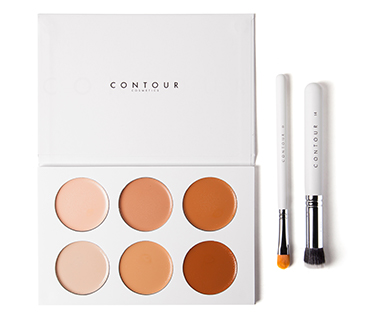
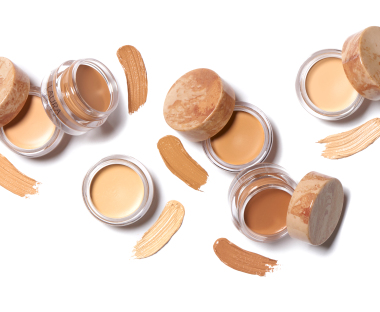
Check out our favourite concealers that are the best for the job!
Top tip: Remember, don't mix your products between powders and creams, pick your weapon of choice and stick to it!
Step 3. Contour your face
Now for the fun part. Choose a colour that is two shades darker than you. The best way to know where to contour is to suck your cheeks in. If you're using a powder bronzer, use an angled or contouring brush to sweep across the hollow of cheekbone or alternatively draw a line with a cream product - this will bring out your cheekbones. Then trace the temples of your forehead across the hairline to minimise your forehead. For the nose, you can go narrow at the tip or carry it to the brow if you have a shorter nose. Contouring the side of you nose will slim it down and make it look more defined, but this takes practise so don't worry if you don't get it right the first time. Finally, contour underneath the jaw line, this will slim down the face as it mimics the shadow around your chin/neck area. The most important thing, no matter what the consistency of the product is to blend blend blend!
Top tip: If you're using a beauty sponge, make sure you dampen it with water for your favourite mist to make sure that there are no creases on the face.
Step 4. Apply finishing/ setting powder
Now that you've done all that hard work, you need to make sure it lasts! Ensure that you don't have any creases in your make up as putting setting powder on them will set those in too. By putting setting or finishing powder on top of your make up, you can ensure that it doesn't move. A good finishing powder will also reduce the look of fine line and pores, ensuring a smooth finish. Remember, there is a difference between pressed and loose powders. Loose powders usually give lighter coverage. As with anything skin related, it's really important to blend otherwise you run the risk of the dreaded FLASHBACK caused by the silica in these products.
Top tip: Use a fluffy brush and apply the powder to your face starting in the centre and working outwards. Let this set, then take a Kabuki brush and gently blend in small circles.
After this step, you can add blush or bronzer to add colour and depth to your face. Happy contouring!